New task
- Select Task > Create > New Task.
- In the pop-up New Task dialog box, enter task information and click OK.
Note:If you are creating a task in a scheduled project, you may also make use of the duration option. Task deadline will be automatically adjusted according to the duration and start time.

Create a duplicate task quickly
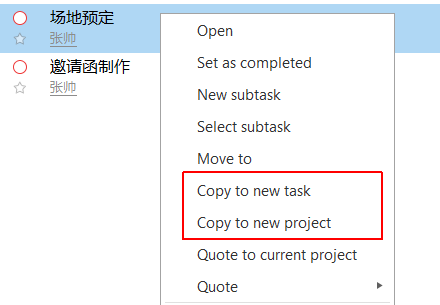
- Select "Task".
- Right-click a task and select "Copy to new task".To create a duplicate task in another project, please select "Copy to new project".
- In the pop-up New Task dialog box, edit task information as needed.
- Click "OK".
Create subtask
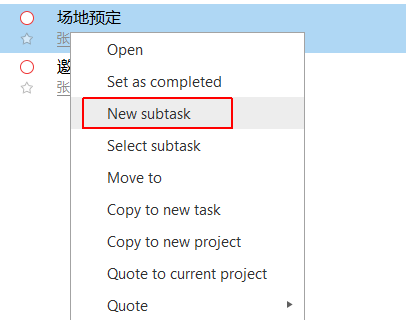
- Select "Task"
- Right-click Task A and select "New subtask".
- In the pop-up New Task dialog box, enter task information and click OK.
Post project note and file to task as reference
When creating or modifying task, you may use notes or files relevant to the project as reference, making it easy for other members to be on the same page.Here are the steps:
- Create or open a task.
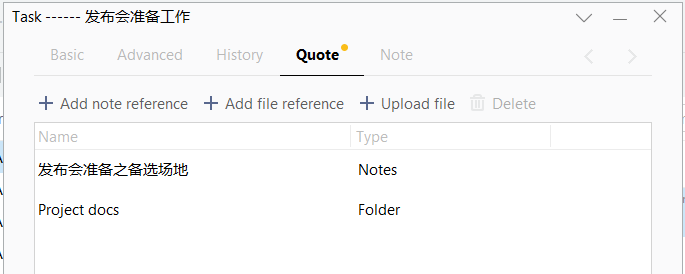
- Click the "Quote" tab.
- Click "Add note reference" or "Add file reference".
- In the pop-up dialog box, select a related project note or file.
- Click "OK".
Create new directory
- Select Task > Create > New directory.
- In the pop-up Task directory dialog box, enter a name for it.
- Click "OK".
Move task to directory
- Select "Task"
- Right-click the task and select "Move" from the menu.
- In the pop-up dialog box, select a task directory and click "OK".
Put task into chat as reference
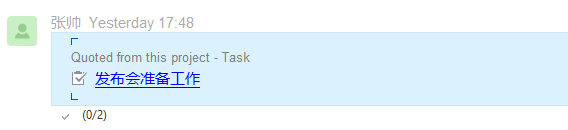
Click the referred task in conversation to open it directly.
- Right-click the task and select "Quote" from the menu.To quote to the current project, please select "Quote to current project".
- Right-click the chat input box and select "paste" from the menu.
Import task
- Click "Import".
- In the "Import task" dialog box, click "Select file" to import a CSV file (UTF-8 encoding required).Or you can click "View template" for creating a CSV file.
- Click the "Start import" button.
Export task
- Select Task > [The task to export].
- Click "Export" in the upper left corner of the Task window.
- In the pop-up Save as dialog box, select a save path and click "Save" to finish.
Delete task
You can only delete the task in which you've participated.Right-click the project task and select "delete".